For parents who are looking for ways to get their children engaged in STEM learning and to develop a STEM learning mindset, we have some hands-on and practical off-screen activities to try out at home with your little ones. We call these bite-sized STEM learning activities, STEM quests.
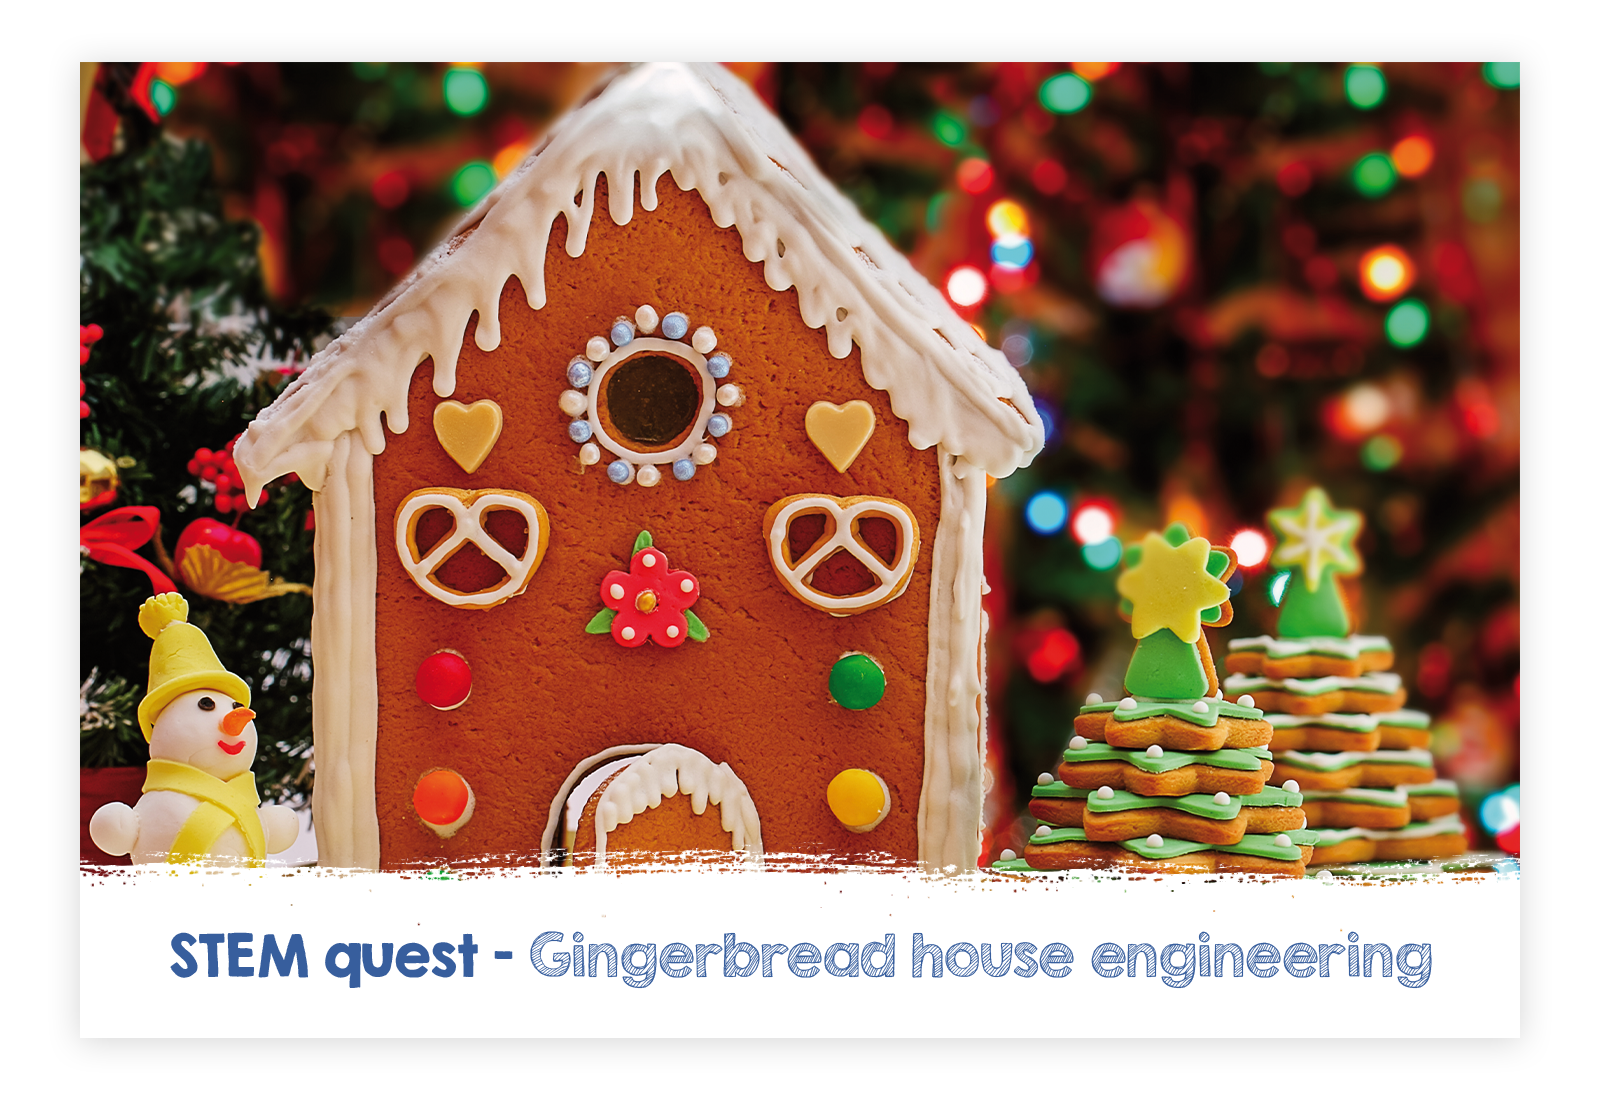
The Christmas holidays provide a great opportunity to incorporate STEM learning into fun family traditions. What better way to inspire your children to develop their STEM skills but to combine it with a fun and festive activity. Our STEM quest challenge today involves designing, building and testing your own unique Christmas houses that can stand on their own. This quest involves developing STEM skills of sequencing and experimentation (trial and error).
Why is sequencing and experimentation (trial and error) important for children to learn about?
Sequencing is one of the fundamentals of coding where big problems can be solved by a series of consecutive steps and actions which are organized in the right order for execution. In addition to this, the trial-and-error approach is another very much needed fundamental of coding and experimentation. Trial-and-error is a key component in the approach of coding where a solution (series of steps) may need adjustment and several trials before success.
These two STEM fundamentals help develop critical thinking and encourage children to be curious and questioning their thoughts and actions. In a not-so-distant future, the fourth industrial revolution will change how we work and use automation of traditional manufacturing processes and industrial practises. Coding and critical thinking are essential and much required skills for automation.
To start our STEM quest, parents can begin by asking their child how to approach the mission of building a Christmas house that can stand on its own. What do they think they need to do as a first step and why? Depending on their age they may need additional prompting. You can mention the steps below, in no specific order, as a hint.
- Draw a model of the house
- Decide on the materials to use to build the house
- Build the house with the selected materials
- Test the structure of the house (can it stand on its own)
- Improve and rebuild the house using a new design or different materials (if necessary)
- Decorate the house
Once you’ve agreed on the steps with your child and the sequence of the steps, it’s time to get started!
Step 1: Draw a model of the Christmas house
This is a fun step where you will brainstorm with your child on the design of the Christmas house. It’s a chance to get creative both in terms of the design of the house structure but also in terms of the decorations. Children love to dream about adding all of their favourite candies, chocolates, cereals, etc. to make a beautiful creation.
Step 2: Decide on the materials
Brainstorm with your child about the different edible material options that could be used to build the structure of the house and to stick (glue) the structure together. Start by thinking very broadly in terms of materials and ask which materials they think would work best or not work at all, and why. Some materials which you can use as prompts for the discussion on the different material for the structure could be waffles, graham crackers, lasagne pasta, pancakes, bread, chocolate, waffle biscuits, ladyfingers, etc. and for the mortar ‘edible glue’ it could be royal icing, cream cheese, peanut butter, melted candies/sugar, etc.
Once you have discussed and agreed on the materials for the construction, it’s time to decide on the decorations (e.g. candies, marshmallows, candy canes, pretzels, cereal, sprinkles, etc.).
Step 3: Build the house with selected materials
In this step you’ll be busy building your house according to the drawing and materials selected in the previous steps. This is a fun part where your child will get to see first-hand what is working and not working with the design and/or materials selected. It may require making some amendments on the spot or you may decide to complete the step and then evaluate and adjust. A design build that doesn’t go as planned is a great way for children to start learning how to learn from mistakes and dealing with failure. From there, they can work on improving the first design, in an iterative way and experimenting via trial and error, both which are key in STEM learning. In this stage depending on the ‘glue’ selected you may need to take some time for your house to fully set and harden before moving to the testing phase.
Step 4: Test the structure of your house
At this point you have managed to make a first attempt at building a Christmas house. Congratulations!
If your house is able to stand on its own, it’s now time to reflect on what is working well, what do you like best about your house and also what could be improved. For example, your house might be able to stand on its own, but can it withstand the weight of adding candies and other decorations to it? Do you need to change anything before decorating? You may want to experiment and test the structure by adding some candies on top or by rolling a marble towards it to see if it can withstand the weight from the marble. This a great and fun way for the child to experiment the boundaries and understanding the limitations of the house.
If your house is not able to stand yet on its own don’t worry! This is all part of the learning process. It’s time to evaluate whether you need to change or add some materials. Or maybe you may need to change the design and materials and make a second or even third attempt. Remember to let your child know that not getting it right should be seen as an opportunity to learn and improve, which is all part of the engineering process.
Step 5: Improve and rebuild the house using a new design or different materials (optional)
This is an optional step depending on the outcome of the tests run in the previous step. If you found the need to improve and rebuild, you’ll be looking at trying out new materials and maybe even a new design for the house.
Step 6: Decorate
Congratulations on designing and building a Christmas house that is sturdy enough to stand on its own! This means you’re now ready to complete the final step where you and your child can let your creative juices flow. The sky is the limit in terms of creative possibilities!
This activity can be adapted and simplified as needed depending on the age and development level of your child. Children will feel a sense of accomplishment and pride when they complete the quest and will enjoy sharing their Christmas house or pictures of it with family and friends over the holidays!
At QuestFriendz we believe that imaginative and hands-on purposeful play, when combined with problem-solving through play, are key to providing young children with an engaging and memorable experience. Starting STEM at an early age helps children to make important connections between everyday life and the STEM disciplines. Addressing young children also allows us to harness their natural curiosity. This magical state helps to accelerate learning including STEM learning. Children become better equipped to face a fast-paced and evolving world, when problem-solving skills and learning to fail are introduced from a young age.
We’ll be sharing some more of our favourite STEM educational quests for parents to try out with their kids at home or for teachers to try in the classroom. Stay tuned!